Printmaking: Package Design
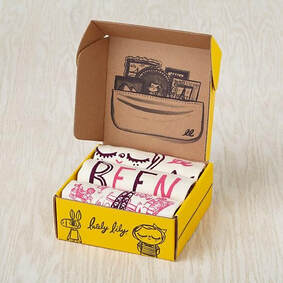
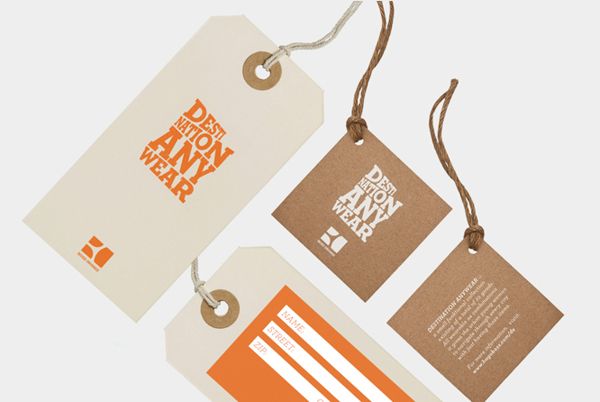
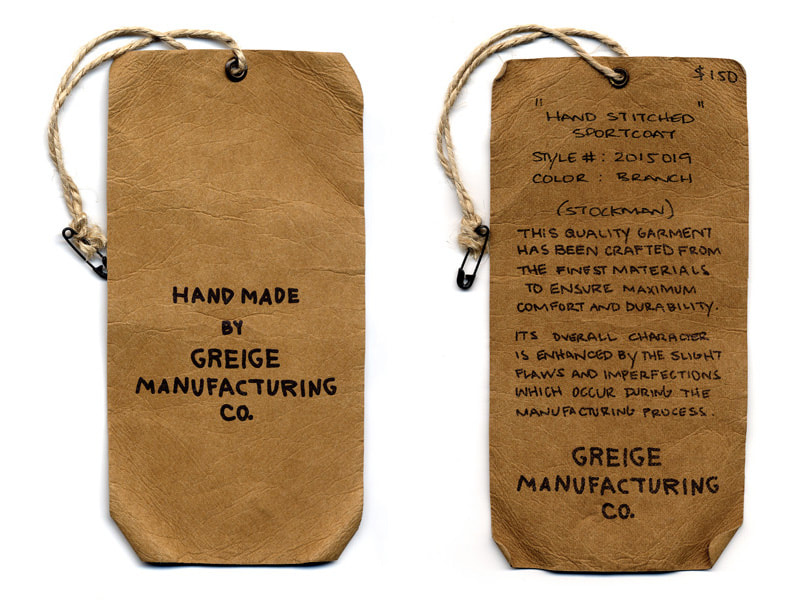
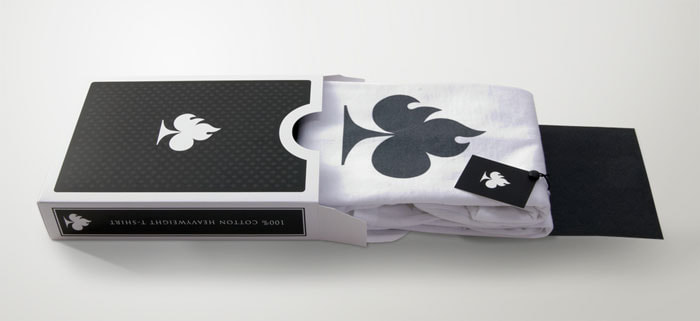
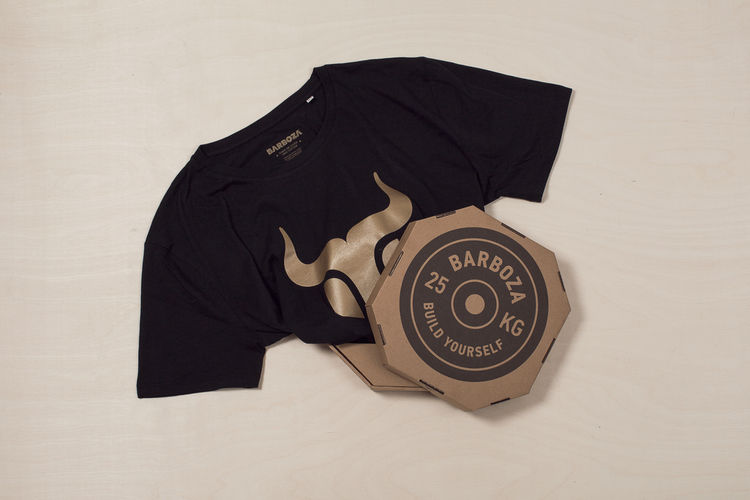
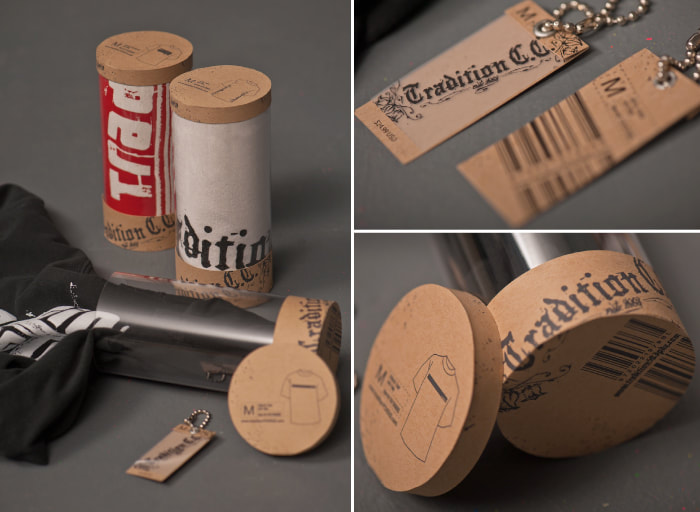
Design a package and label for your brand.
The package and labels can be applied to your t-shirt, tote bag or towel.
1st Step: Requirements and Research
This first step is, perhaps, the most important one: complying with the specifications. Packaging requirements can vary widely depending on your product. Food packaging is required to pass some health standards; long-distance shipping necessitates harder, more structurally stable packages; different products may need different storing temperatures, conditions, treatments, etc. You get the idea.
But that’s just the barebone of your concept. Once fulfilled, it’s important also to clarify your objectives and needs within those requirements. This is where packaging thrives: the crossing of paths between needs and opportunities. Think outside the box, (pun intended). Be unconventional! Be distinctive!
2nd Step: Prototyping
Prototyping is much more than crafting and trying different models and ideas: it’s a whole process, from ideation to correction. This is the stage where courses shift and turn. And this is where you should tinker with all the ideas you had in the market research stage: could we make it bigger? Could we make it bolder? Could we make it more creative? Could we make it better?
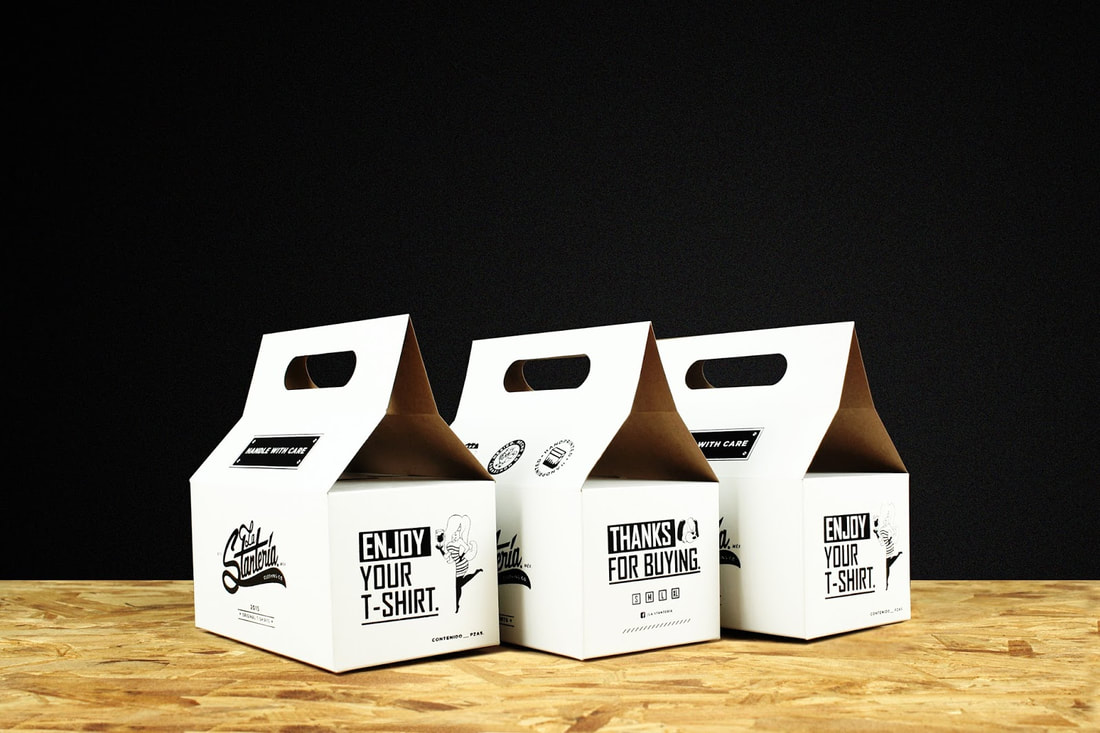
3rd Step: Design and Production
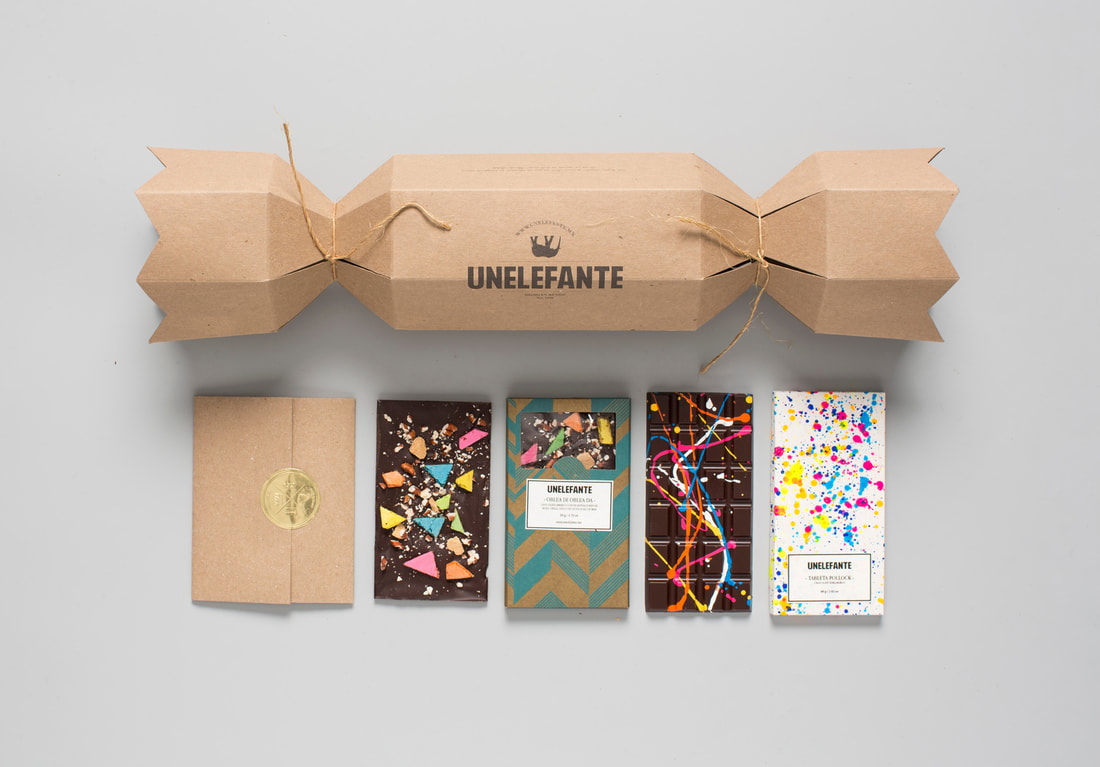
After some time tinkering with multiple ideas and prototypes, you’ll reach a final version of your package. You’ll already understand what it does, how it does it, and how does it relate to the product itself. Time to pick up the brush! Now, how will you design it? Which colors will you choose? Whom do you want to appeal? Who are your customers — or who do you want them to be? Different targets have different tastes, habits, and customs.
https://www.trendingpackaging.com/basics-of-packaging-3rd-lesson-design-and-production/
This first step is, perhaps, the most important one: complying with the specifications. Packaging requirements can vary widely depending on your product. Food packaging is required to pass some health standards; long-distance shipping necessitates harder, more structurally stable packages; different products may need different storing temperatures, conditions, treatments, etc. You get the idea.
But that’s just the barebone of your concept. Once fulfilled, it’s important also to clarify your objectives and needs within those requirements. This is where packaging thrives: the crossing of paths between needs and opportunities. Think outside the box, (pun intended). Be unconventional! Be distinctive!
2nd Step: Prototyping
Prototyping is much more than crafting and trying different models and ideas: it’s a whole process, from ideation to correction. This is the stage where courses shift and turn. And this is where you should tinker with all the ideas you had in the market research stage: could we make it bigger? Could we make it bolder? Could we make it more creative? Could we make it better?
3rd Step: Design and Production
After some time tinkering with multiple ideas and prototypes, you’ll reach a final version of your package. You’ll already understand what it does, how it does it, and how does it relate to the product itself. Time to pick up the brush! Now, how will you design it? Which colors will you choose? Whom do you want to appeal? Who are your customers — or who do you want them to be? Different targets have different tastes, habits, and customs.
https://www.trendingpackaging.com/basics-of-packaging-3rd-lesson-design-and-production/
|
|
|
|
|
|
|
|
Templates for boxes & bags
